

Sort by
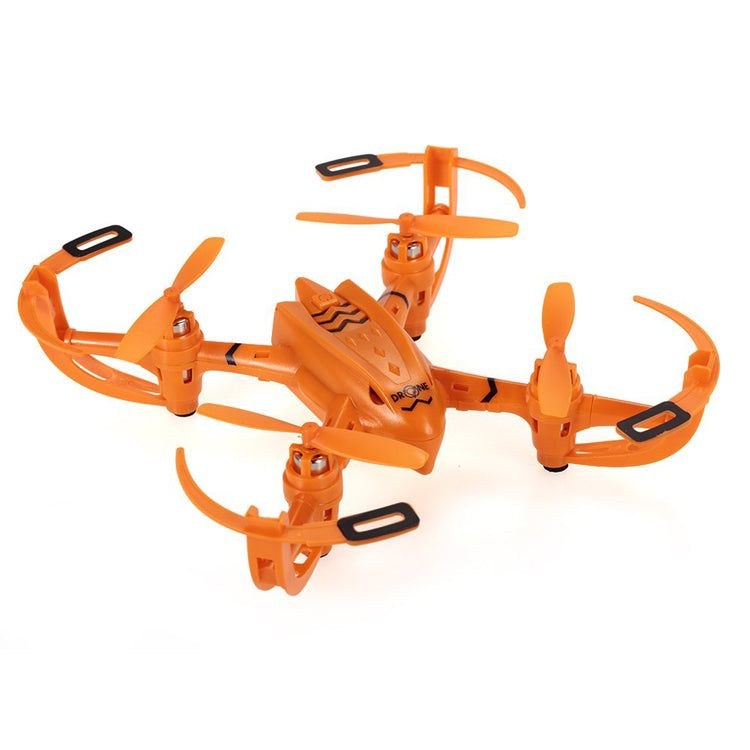
DIY CX-002 Lark Quadcopter
DIY CX-002 Lark Quadcopter
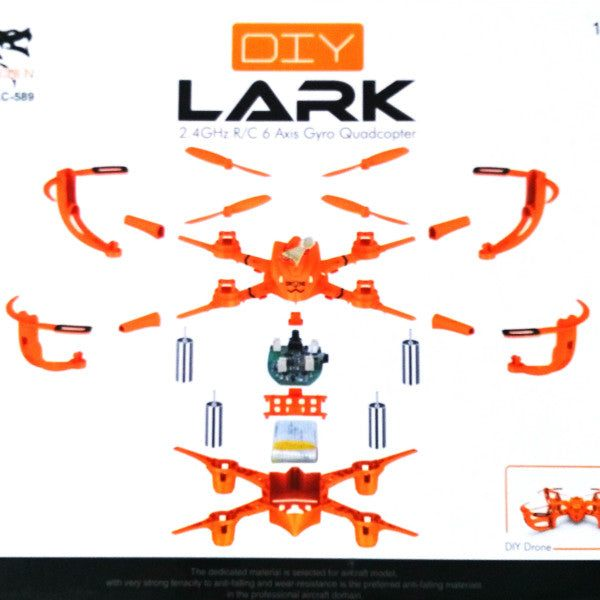
Steps to assemble the LARK Quadcopter
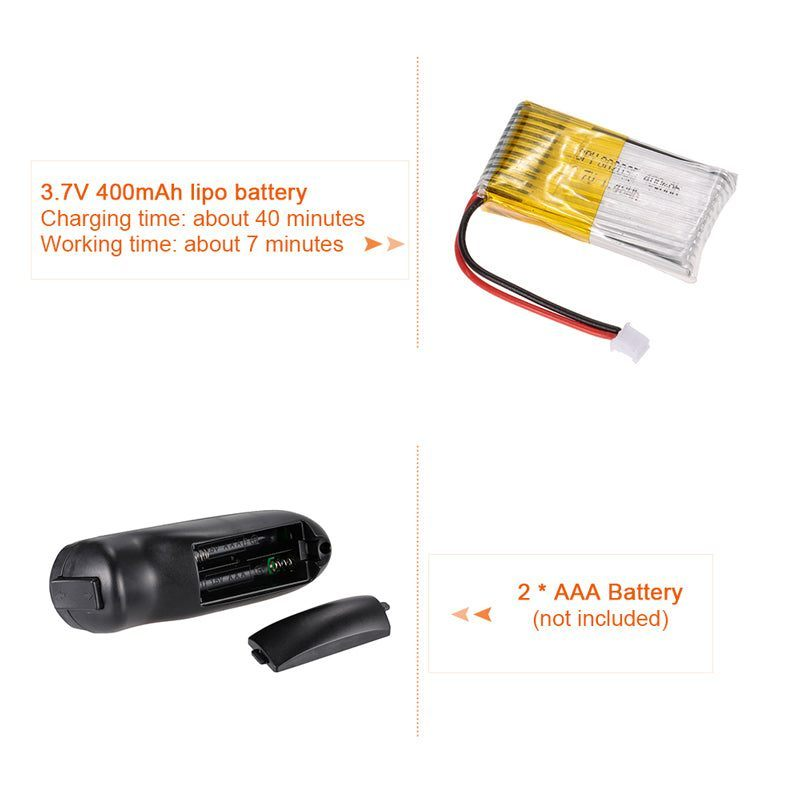
Take the bottom frame of the quadcopter (A-2) and place the battery (A-12) at the centre
Take out the electronic board (A-11), snap it into the frame (A-14) and mount it over the battery
Next, take the forward and reverse motor and place it into the motor mounts correctly. The motors of the same number should be mounted diagonally opposite to each other. Looking directly towards the front side of the drone frame, motor number A-15 should be on the right side and motor A-13 on the left side. On the rear side, motor A-15 will be on the left and motor A-13 on the right.
Note:
If the motor placements are incorrect, the drone may not fly as the motors will spin incorrectly to generate lift.
Make sure the motor wires face towards the centre of the drone and motor should be connected to the corresponding motor pins on the electronics board.
Install the switch button (A-16). The switch button symbol should be facing in the same orientation as the drone and the mounting point of it near the rear end of the drone.
Finish of the main body assembly by snapping on the top frame (A-1) to the bottom frame.
Secure the upper and lower body by inserting in restriction parts (A-17) into the four body arms.
Install the protective hood (A-3, A-4, A-5 and A-6) to each of the drone’s arm. Insert the hood into the restriction part first before snapping the bottom part of the hood to the fuselage.
Insert the forward and the reverse propeller to the motor shaft on the four arms of the quadcopter. With the quadcopter front facing the user, the A-10 propeller should be mounted on the right side and the A-8 propeller should be mounted on the left side. Like the motor the rear arms will have the propellers of the same part placed diagonally opposite to the front, i.e. A-10 on the left and A-8 on the right. Make sure the propellers are fully inserted into the shaft as incorrectly inserted ones may fling of the quadcopter when it starts to fly.
Note:
If the propeller placements are incorrect, the drone may not fly as the propellers will push air towards the wrong direction to generate lift.
Make sure the propellers can spin freely and the wind blows downwards. If not, the propellers might be placed incorrectly.
Place the caps on the propellers, to prevent the propellers from detaching mid-flight.
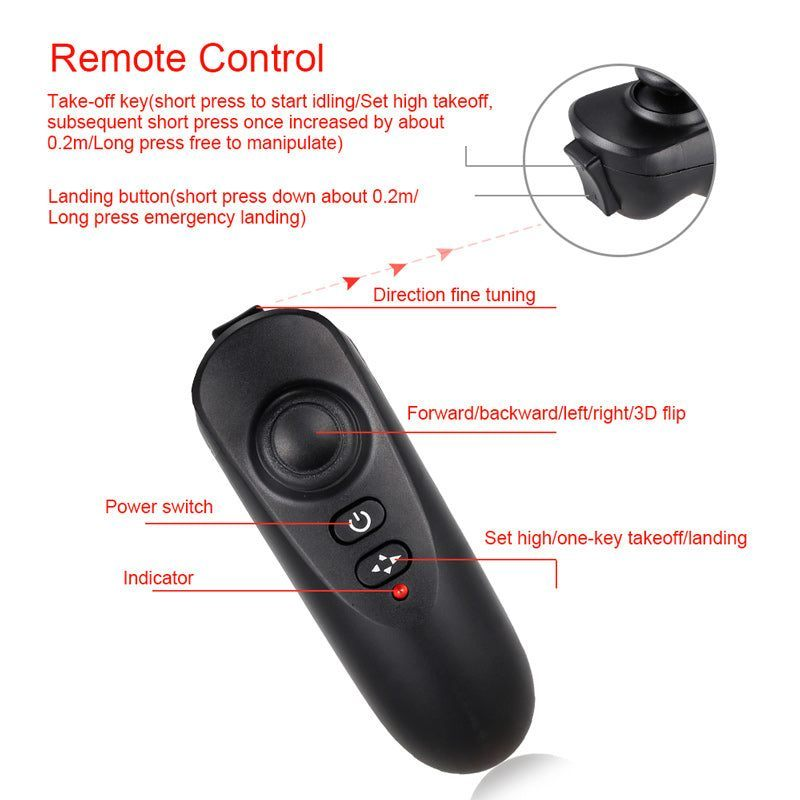
Steps to connect the remote control to the Lark Quadcopter
Put the AAA batteries in the remote control of the Lark quadcopter. Switch on both the remote control and the quadcopter. Move the joystick forward and backward and wait for the blinking on the Lark quadcopter to stop. Then press the throttle once. The Lark drone is now connected to the remote control.
₹3300.92
MRP. ₹5024.60
Incl. GST (No Hidden Charges)
Incl. GST (No Hidden Charges)
DIY CX-002 Lark Quadcopter
DIY CX-002 Lark Quadcopter Steps to assemble the LARK Quadcopter Take the bottom frame of the quadcopter (A-2) and place the battery (A-12) at the centre Take out the electronic …
As low as
₹3300.92
₹3300.92
MRP. ₹5024.60
Incl. GST (No Hidden Charges)
DIY D2-1 Intelligent Line fol…
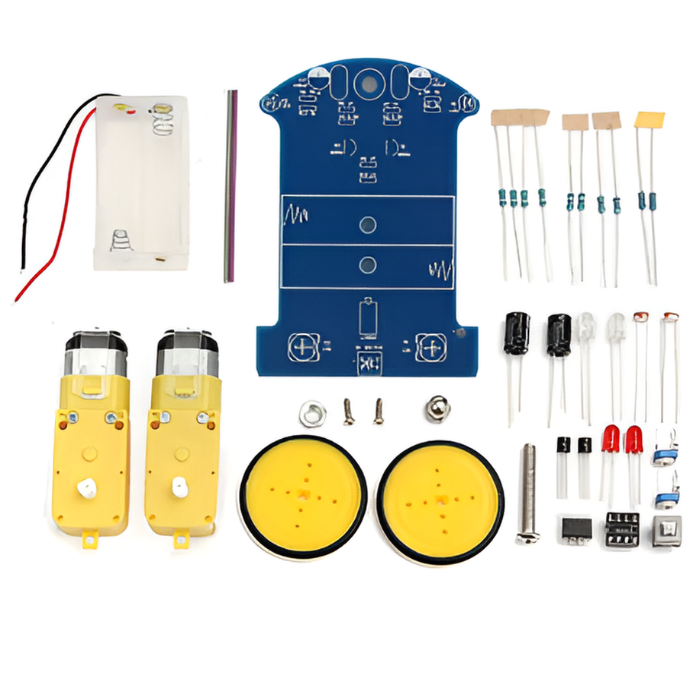
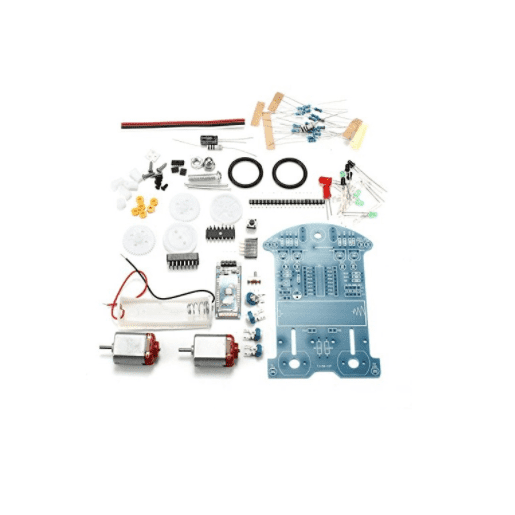
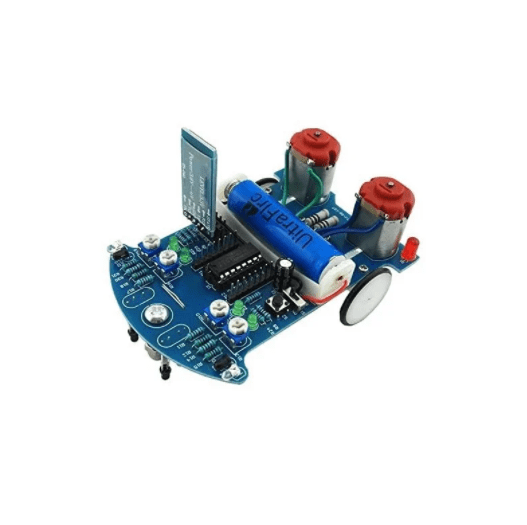
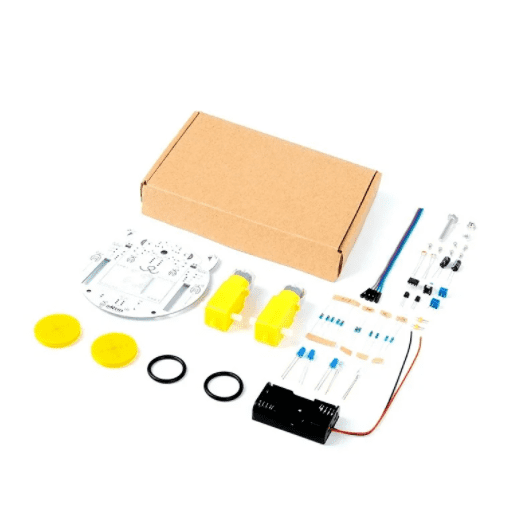
DIY D2-1 Intelligent Line follower/Tracing Car Kit
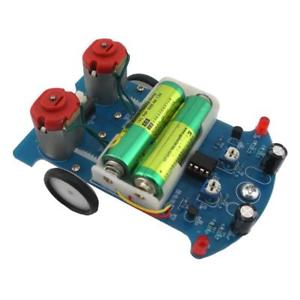
Get this DIY Intelligent Line follower/Tracking Smart Car Kit with all essential parts to build and Learn your own DIY line follower robot car This car just needs a 3V power supply to operate from two AA batteries. This comes with two powerful geared BO motors and all the required parts and ICs to run the robot, you do not need to use any driving board or coding to program it. you just need little soldering knowledge to assemble this bot.
Note:
This kit doesn't come with a battery
₹232.66
MRP. ₹418.60
Incl. GST (No Hidden Charges)
Incl. GST (No Hidden Charges)

DIY D2-1 Intelligent Line follower/Tracing Car Kit
DIY D2-1 Intelligent Line follower/Tracing Car Kit Get this DIY Intelligent Line follower/Tracking Smart Car Kit with all essential parts to build and Learn your own DIY line follower robot …
As low as
₹232.66
₹232.66
MRP. ₹418.60
Incl. GST (No Hidden Charges)
DIY D2-5 Intelligent Tracking…
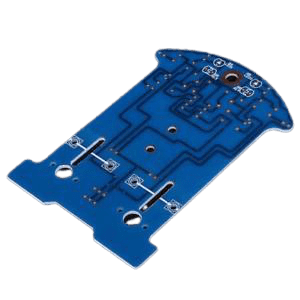
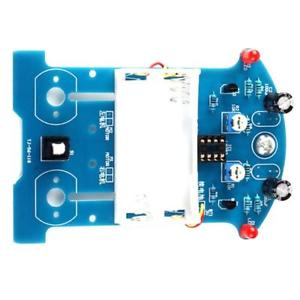
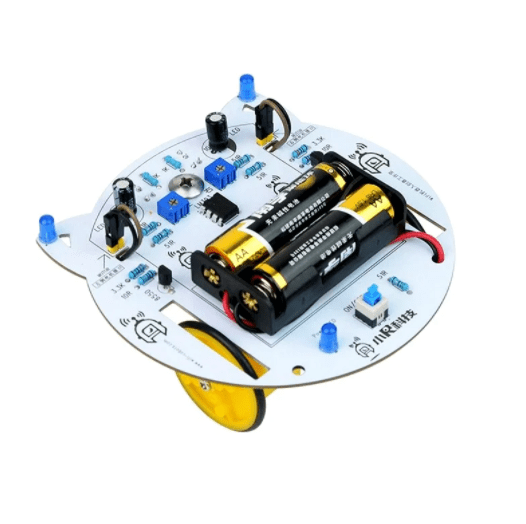
DIY D2-5 Intelligent Tracking Line Car Kit
LM393 at any time compared the size of two photosensitive resistors when there is an imbalance (such as one side of the black runway) immediately control the side of the motor stop, the other side of the motor to accelerate the rotation so that the direction of the car to restore the correct direction. The whole process is a closed-loop control, so it can be quickly and sensibly controlled
Note:
This kit doesn't come with batteries
₹294.63
MRP. ₹558.60
Incl. GST (No Hidden Charges)
Incl. GST (No Hidden Charges)

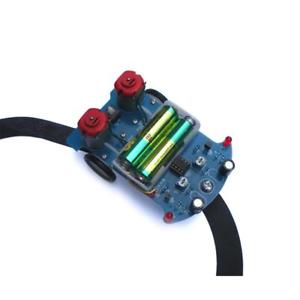

DIY D2-5 Intelligent Tracking Line Car Kit
DIY D2-5 Intelligent Tracking Line Car Kit LM393 at any time compared the size of two photosensitive resistors when there is an imbalance (such as one side of the black …
As low as
₹294.63
₹294.63
MRP. ₹558.60
Incl. GST (No Hidden Charges)
DIY Drone Kit With Manual (Ca…
DIY Drone Kit With Manual (Camera Not Included)
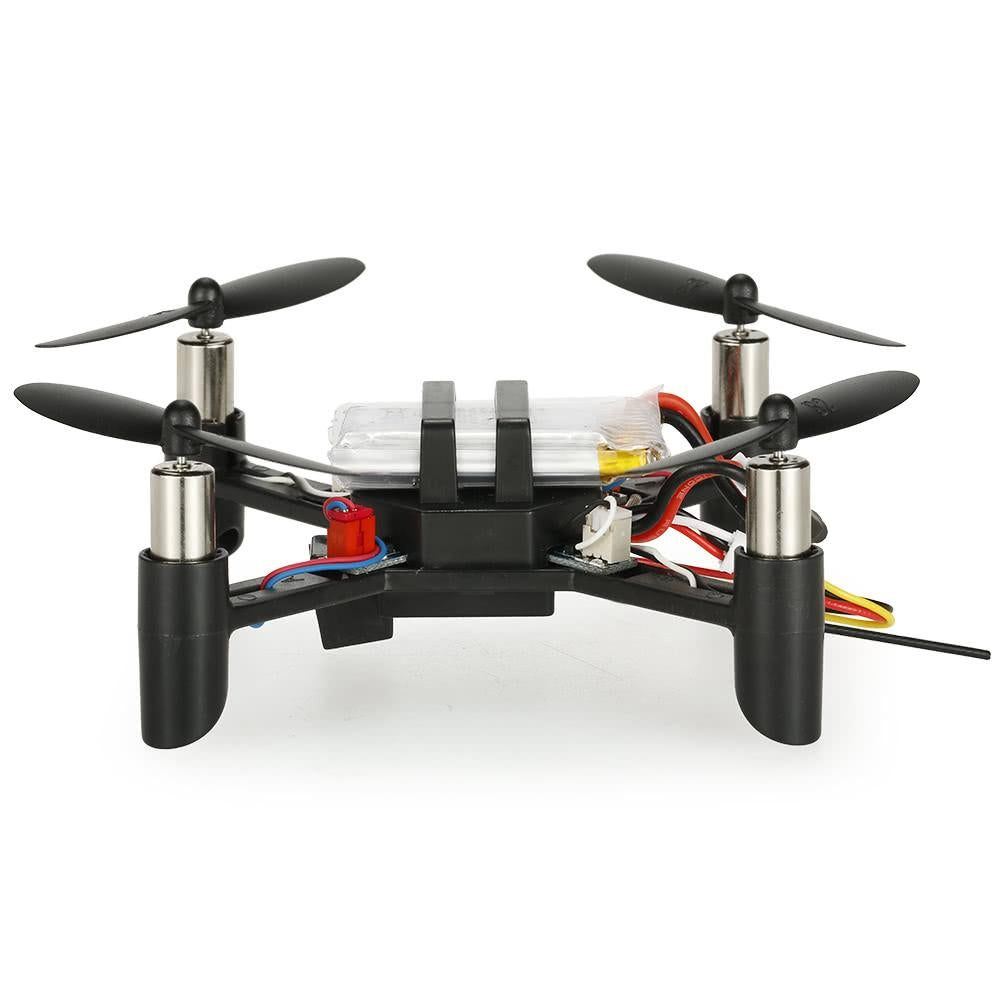
The DM002 Mini DIY Drone is an excellent and affordable drone making kit that allows you to build your own quadcopter or
drone
without requiring advanced mechanical skills or soldering expertise.
Assembling the DM002 drone is a fun and exciting process, and once you're finished, you'll have a quadcopter that is both enjoyable to fly and highly functional.
It's hard to come across a more cost-effective
drone kit
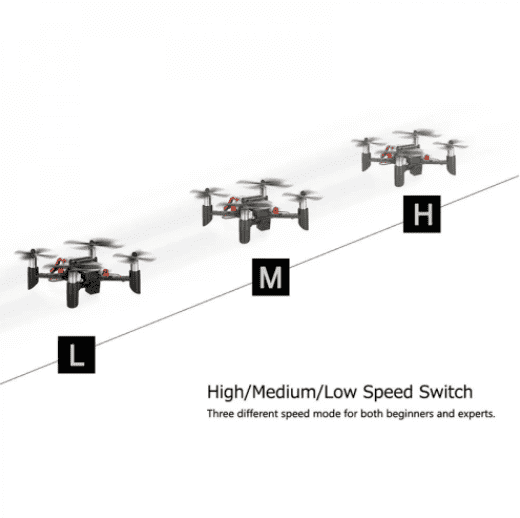
that performs as well as the DM002. This quadcopter is quick, nimble, and relatively easy to pilot, with 3 different speed modes to choose from.
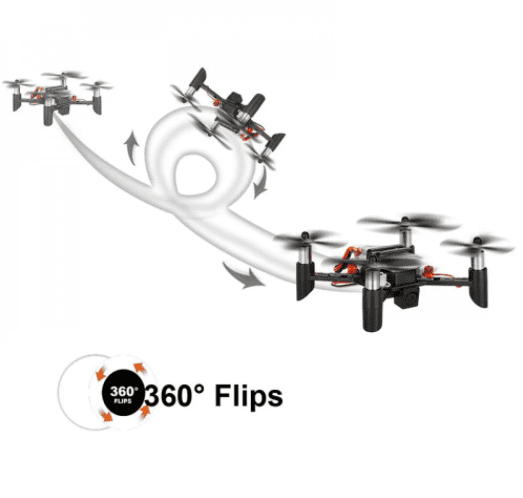
You can start in slow mode and gradually progress to medium and high speeds as you become more comfortable flying it. Additionally, the DM002 drone making kit has a button that allows you to perform 360° flips with ease.
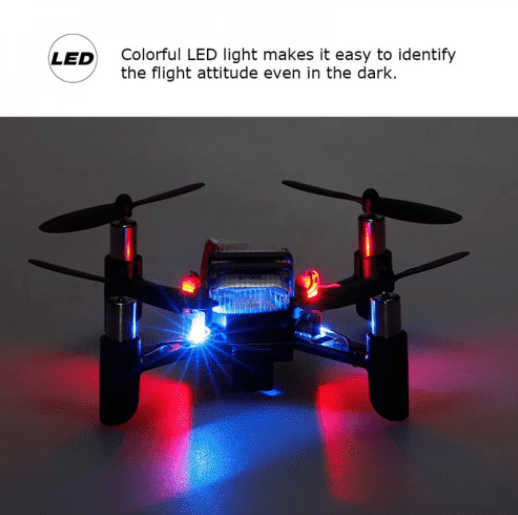
Function
/ ascend/descend / forward / backward/side flying / Slow/Medium/High speed/turn round / 360°rolling action / 360° accurate localization / LED / One key return
LED status -
1)Red when charger is connected to the battery.
2)No LED blinks when the charger is connected to the source(while charging).
3)Again red LED glows when the battery is charged completely.
Note:
This model(DM002) doesn't come with Wifi and FPV Camera
Check out our collection of high-quality
parts of drone
to find everything you need for your drone projects!
Build, Fly, and Record, Check Out -
DM002 Drone Kit with Camera
!
Key Features
DIY drone assembly kit for hands-on learning
Supports integrated camera module (camera not included)
WiFi connectivity for real-time control and telemetry
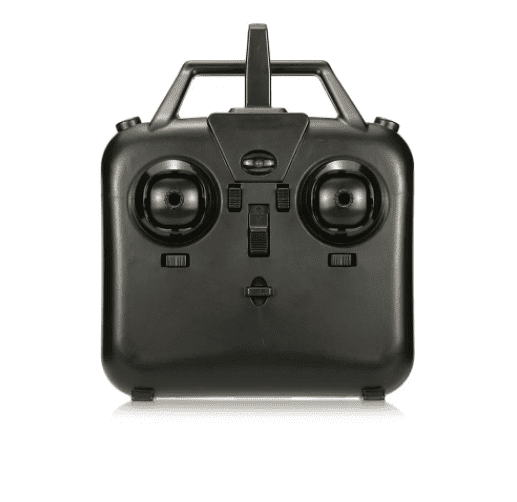
Operates via remote control for easy navigation
Stable flight performance for beginners and hobbyists
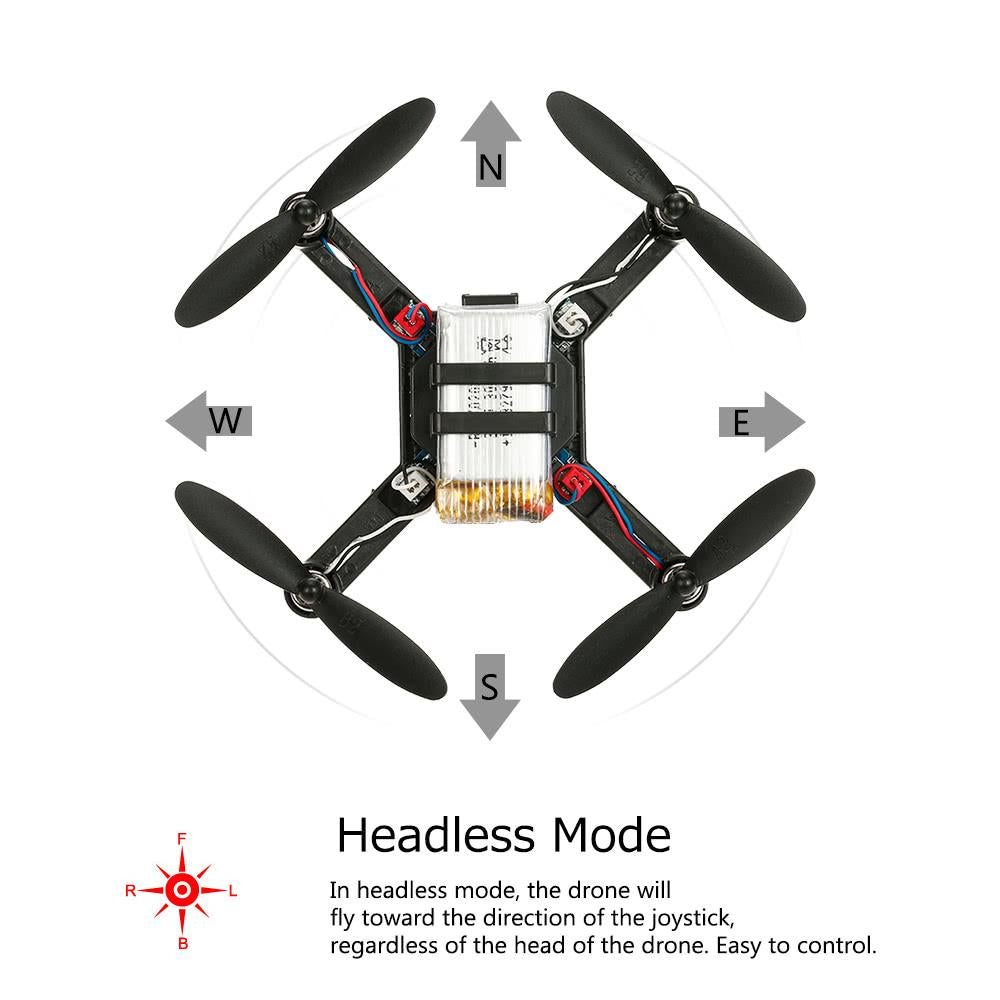
Headless mode for simplified directional control
Comes with a rechargeable battery for extended usage
Built-in LED lights for visibility and night flying
Compact and lightweight design for indoor/outdoor use
Comparison:
Features
DM002
DM002HW
Speed control
Yes
Yes
Wifi FPV Camera
No
Yes
Wifi connection
No
Yes
Colorful LED's
Yes
Yes
Smartphone control
No
Yes
Altitude Hold
Yes
Yes
headless mode
Yes
Yes
One key taking off
Yes
Yes
One key landing
Yes
Yes
Gyroscope
6-axis
6-axis
360 degree flip
Yes
Yes
Auto Home
Yes
Yes
Battery
3.7V 300mAh Lipo Battery
3.7V 300mAh Lipo Battery
Charging Time
60-80 minutes
60-80 minutes
Frequency
2.4Ghz
2.4Ghz
Flight time
around 7 minutes
around 7 minutes
Operating environment
Indoor and outdoor
Operating environment
Assembly guide
Included
Included
Assembly tools
Included
Included
Get
FlySky FS-CT6B RC Transmitter and Receiver
for Long Range Control!
Also check
1050 mAh 3.7V single-cell rechargeable LiPo battery
,
Assembly of DM002 DIY Drone
₹2010.63
MRP. ₹4898.60
Incl. GST (No Hidden Charges)
Incl. GST (No Hidden Charges)
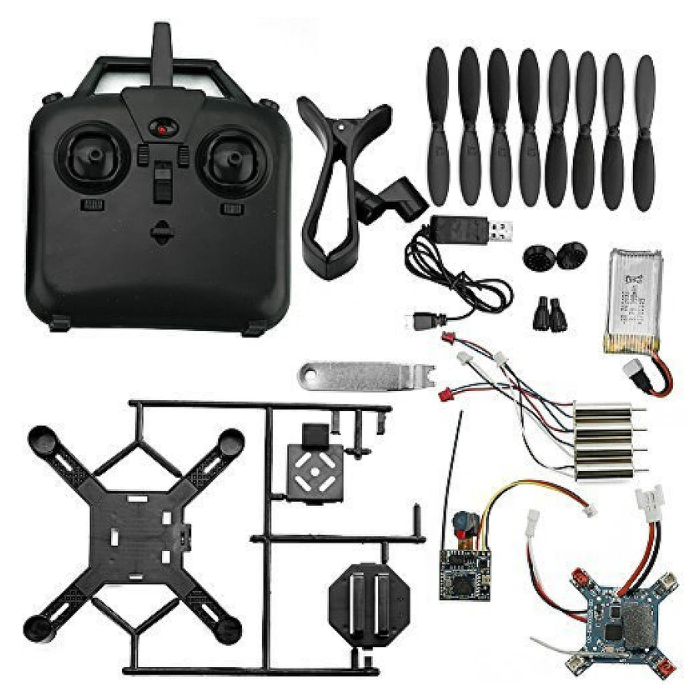
DIY Drone Kit With Manual (Camera Not Included)
DIY Drone Kit With Manual (Camera Not Included) The DM002 Mini DIY Drone is an excellent and affordable drone making kit that allows you to build your own quadcopter or …
As low as
₹2010.63
₹2010.63
MRP. ₹4898.60
Incl. GST (No Hidden Charges)
DIY Educational Electric Rept…
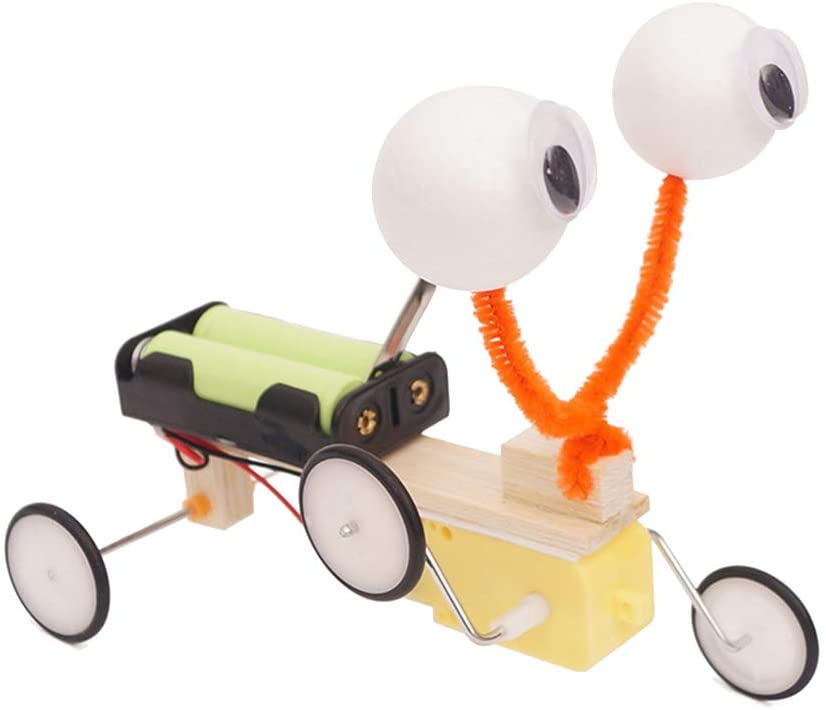
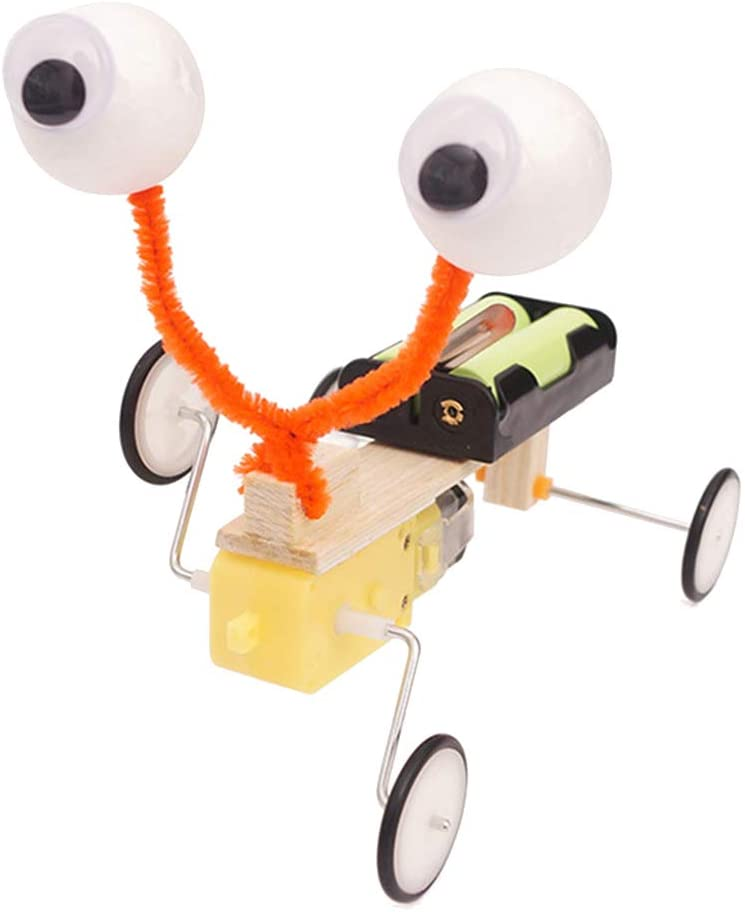
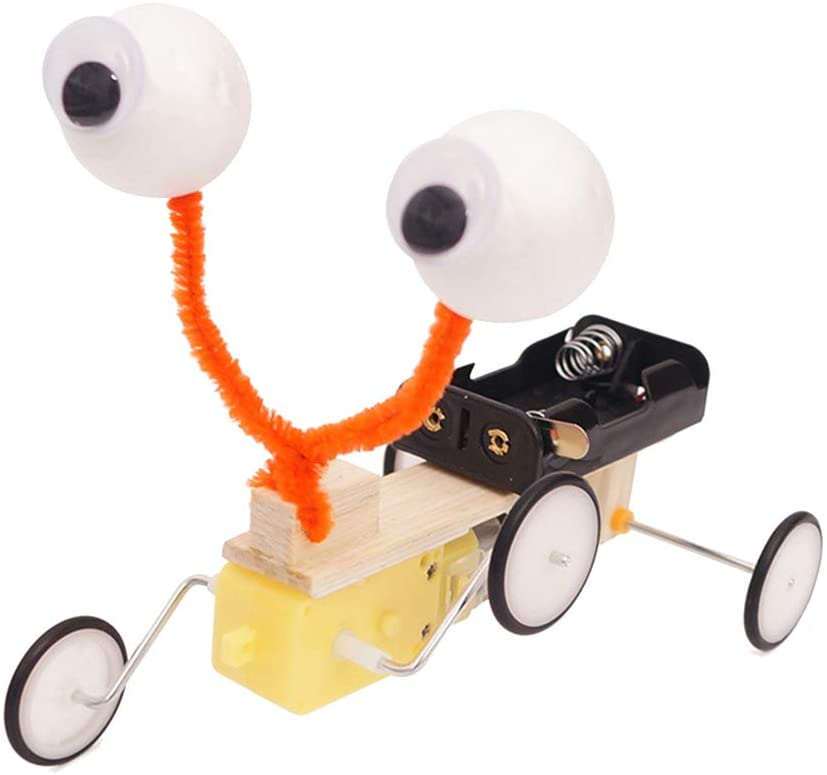
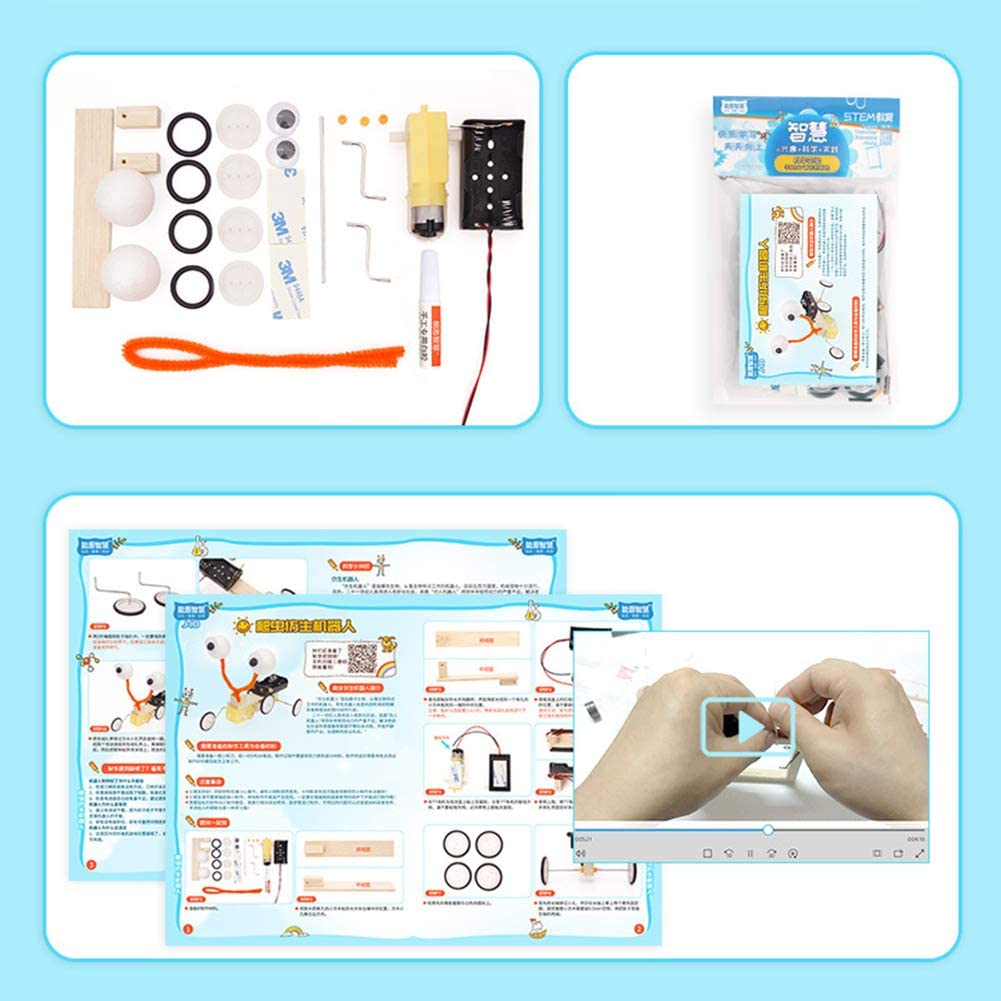
DIY Educational Electric Reptile Robot for Science Experiment
DIY reptile robot toys help improve their memory, hands-on ability, strategic thinking, visual-spatial ability, social ability, recognition ability, let children develop creativity, and practice imagination to improve their ability. At the most creative ages, hand-eye coordination, imagination, and patience can develop children's brains and enhance their scientific, technical, engineering, and mathematical skills.
Suitable for children from 4 to 12 years old and have fun with their children. Whether at home, school, kindergarten, elementary school, parents, or teachers, you can easily learn.
This is the perfect gift for children, birthday gift, Christmas gift, Thanksgiving gift, New Year gift, gift for your son, daughter, grandson, friend's child, or elementary school to make them love you more.
Note:
This kit doesn't come with batteries
Product Advantages:
Cultivate interest:
Cultivating children's interest in learning and desire to learn can help improve their academic performance.
Innovative thinking:
Enhance children's sense of innovation and ability, let children win at the starting line and become more competitive in society.
Scientific knowledge:
Scientific knowledge in small production can lay the foundation for future inventions and mathematical and physical learning.
Hands-on ability:
Strengthen the cultivation of hands-on ability, so that knowledge is no longer "paper talk"
₹240.79
MRP. ₹488.60
Incl. GST (No Hidden Charges)
Incl. GST (No Hidden Charges)

DIY Educational Electric Reptile Robot for Science Experiment
DIY Educational Electric Reptile Robot for Science Experiment DIY reptile robot toys help improve their memory, hands-on ability, strategic thinking, visual-spatial ability, social ability, recognition ability, let children develop creativity, …
As low as
₹240.79
₹240.79
MRP. ₹488.60
Incl. GST (No Hidden Charges)
DIY Human Gesture Detection S…
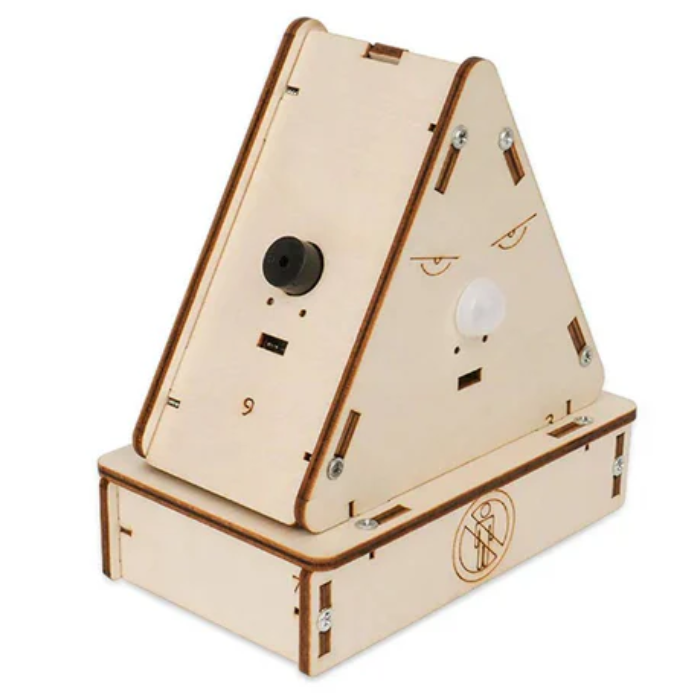
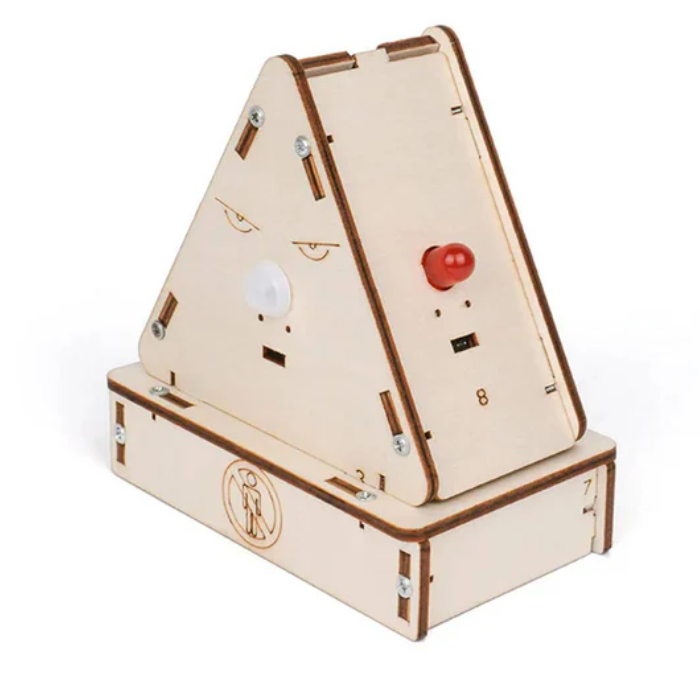
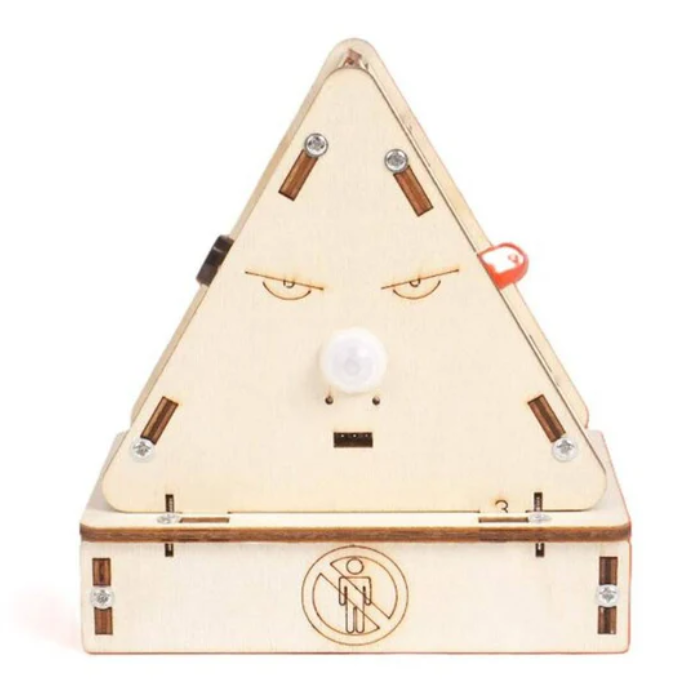
DIY Human Gesture Detection Science Experimental STEM Kit Toy
The DIY Human Gesture Detection STEM Kit is an innovative hands-on learning toy that introduces children to the exciting world of gesture-based technology through play.
Designed to develop essential STEM (Science, Technology, Engineering, and Mathematics) skills, this STEM kit encourages kids to explore, build, and understand how human gestures can interact with electronic systems.
Perfect for school projects or at-home learning, this engaging DIY kit promotes critical thinking, creativity, and problem-solving while keeping kids away from screens.
A great choice for parents and educators, this STEM toy for kids offers a fun and educational way to inspire curiosity and build confidence in young learners.
₹1104.37
MRP. ₹2098.60
Incl. GST (No Hidden Charges)
Incl. GST (No Hidden Charges)
DIY Human Gesture Detection Science Experimental STEM Kit Toy
DIY Human Gesture Detection Science Experimental STEM Kit Toy The DIY Human Gesture Detection STEM Kit is an innovative hands-on learning toy that introduces children to the exciting world of …
As low as
₹1104.37
₹1104.37
MRP. ₹2098.60
Incl. GST (No Hidden Charges)
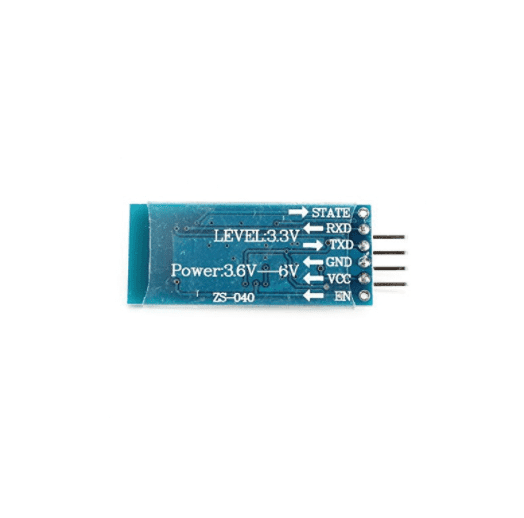
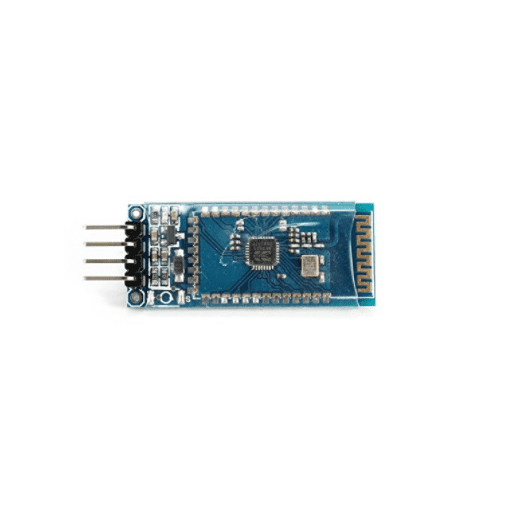
DIY Kits D2-6 Bluetooth Remot…
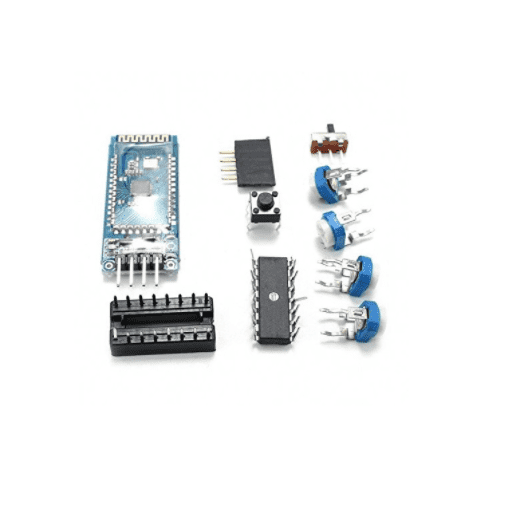
DIY Kits D2-6 Bluetooth Remote Control Intelligent Car
D2-6 Bluetooth Remote Control Intelligent Car 51 MCU DIY Kit is the latest version of the D2 series kit, it has a pre-programmed single-chip microcomputer as the core, through program control achieves tracking, obstacle avoidance, Bluetooth mobile phone control, gravity induction control functions. You just need a little soldering skill to assemble this kit
The car comes with the serial interface, by connecting the Bluetooth module to achieve wireless remote control function. Compared to the previous D2 series car can only control forward, D2-6 added more features, not only can achieve forward but also can be achieved fall back. It runs on a rechargeable Lithium battery to reduce the cost of use.
Note:
You need to get the battery separately as this kit does not include the battery
₹710.17
MRP. ₹1398.60
Incl. GST (No Hidden Charges)
Incl. GST (No Hidden Charges)
DIY Kits D2-6 Bluetooth Remote Control Intelligent Car
DIY Kits D2-6 Bluetooth Remote Control Intelligent Car D2-6 Bluetooth Remote Control Intelligent Car 51 MCU DIY Kit is the latest version of the D2 series kit, it has a …
As low as
₹710.17
₹710.17
MRP. ₹1398.60
Incl. GST (No Hidden Charges)
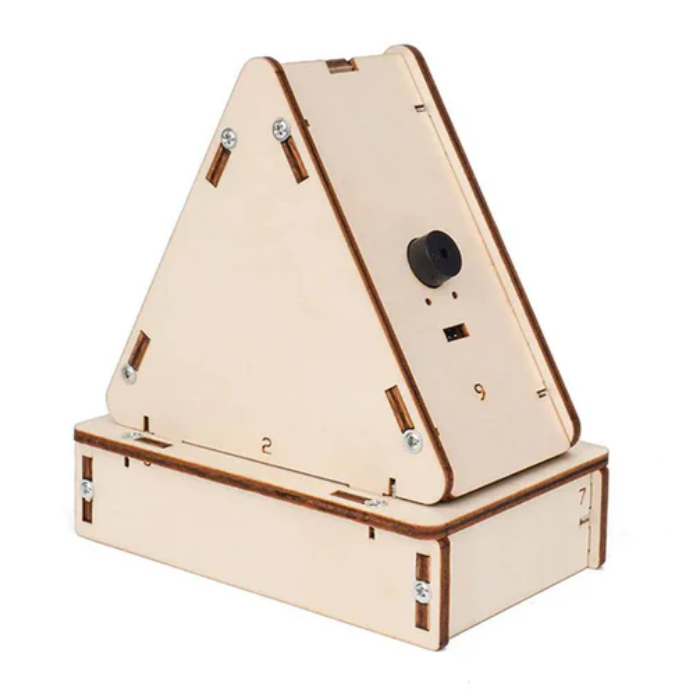
DIY Magic Window Science Expe…
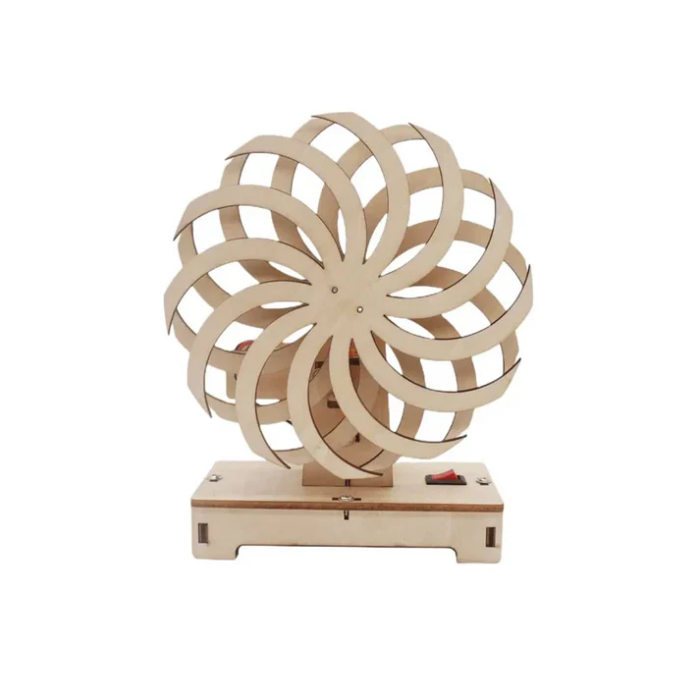
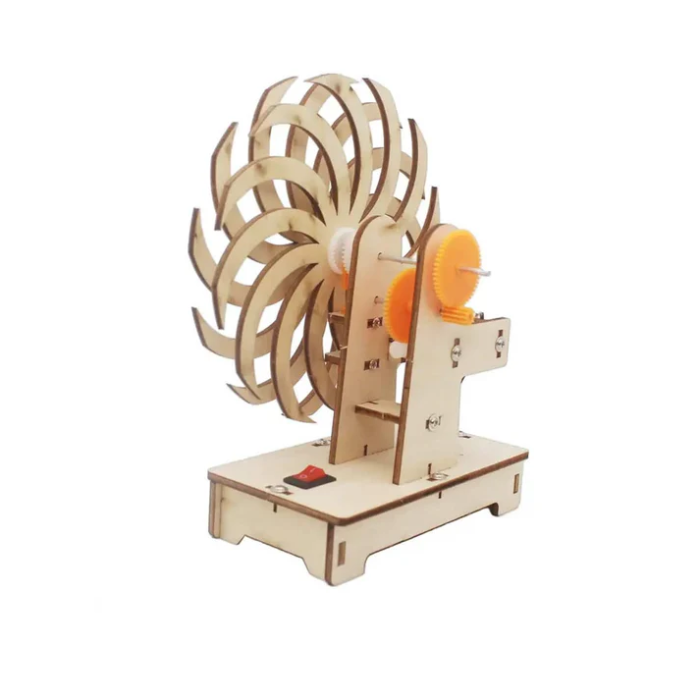
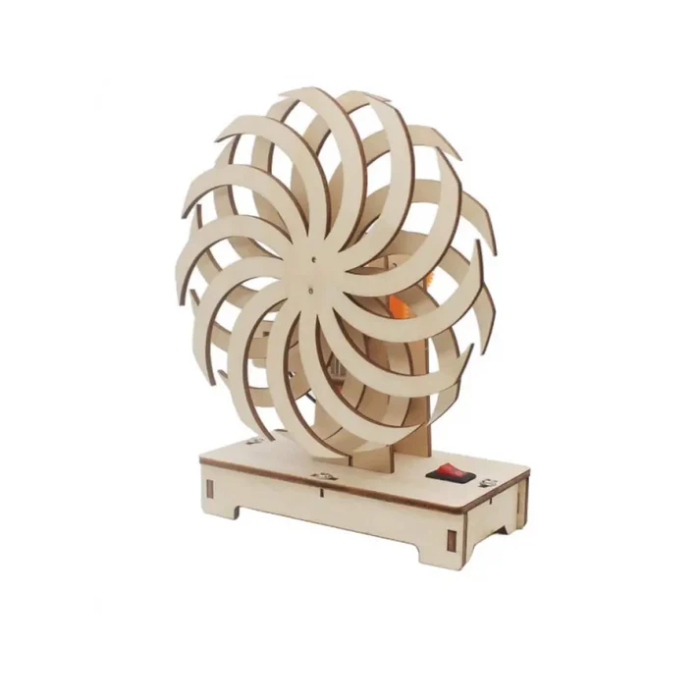
DIY Magic Window Science Experimental Stem Kit Toy
The DIY Magic Window Science Experimental STEM Kit Toy offers children an exciting opportunity to learn through hands-on exploration and play.
Specially designed to spark curiosity and foster a love for science, technology, engineering, and mathematics (STEM), this kit helps kids develop critical skills such as logical thinking, creativity, and problem-solving.
A wonderful alternative to screen-based entertainment, this STEM kit keeps children engaged in meaningful, educational activities.
Whether used at home or in the classroom, it’s a perfect tool for parents and educators seeking to encourage active learning while making science fun and accessible.
Features:
It encourages children's practical skills and creative thinking.
The DIY Magic Window STEM Kit is simple to assemble and gives children a sense of accomplishment.
It improves the scientific knowledge of children.
Magic Window STEM Kit arouses children's interest and curiosity.
₹503.93
MRP. ₹1258.60
Incl. GST (No Hidden Charges)
Incl. GST (No Hidden Charges)

DIY Magic Window Science Experimental Stem Kit Toy
DIY Magic Window Science Experimental Stem Kit Toy The DIY Magic Window Science Experimental STEM Kit Toy offers children an exciting opportunity to learn through hands-on exploration and play. Specially …
As low as
₹503.93
₹503.93
MRP. ₹1258.60
Incl. GST (No Hidden Charges)
DIY Mini Battery Powered 4 Wh…
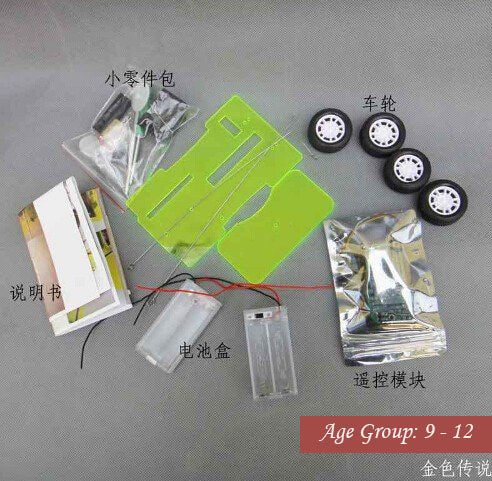
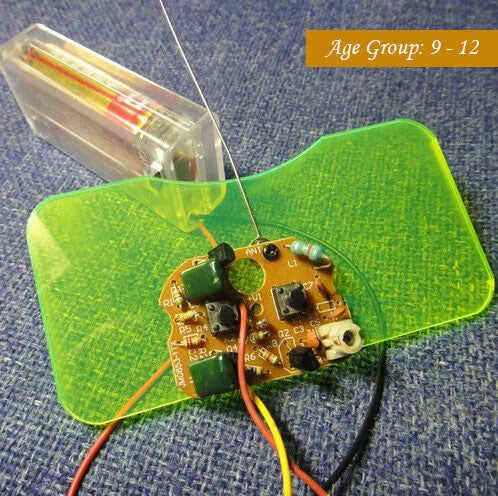
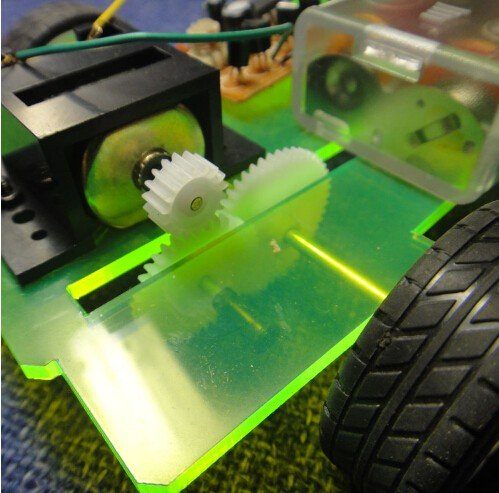
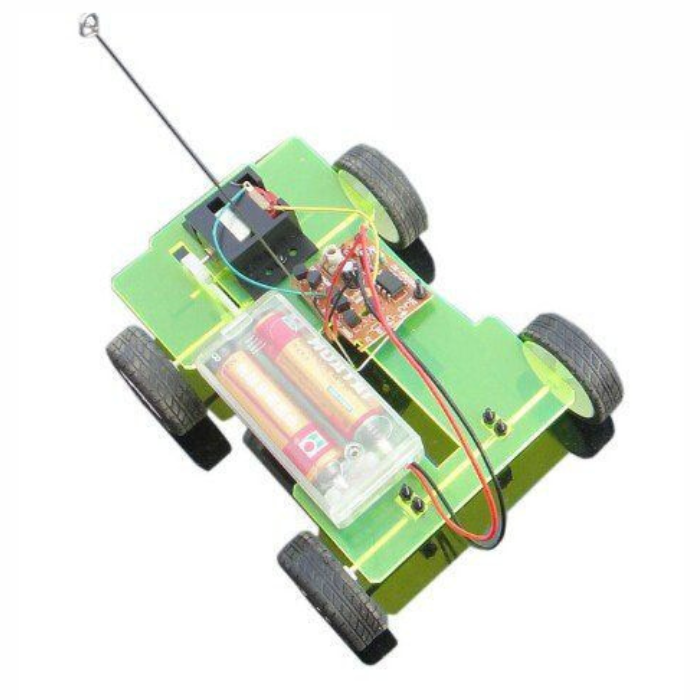
DIY Mini Battery Powered 4 Wheel Drive Car
Don't just buy your kids remote controlled cars, help them build one. This kit will develop skills like assembling the parts, wireless communication, and interfacing of transmitter/Receiver Board. The kids will learn about RF technology and its collaboration with modern mechanical elements to produce a perfect hybrid!
Features:
Do It Yourself Mini Battery Powered 4 Wheel Drive Car Kit
Simple and yet educational , Develop intelligence, cultivate confidence, and improve mental quality to create new thinking.
Moveable car
Learn about
RF technology and electric motor
₹393.19
MRP. ₹838.60
Incl. GST (No Hidden Charges)
Incl. GST (No Hidden Charges)

DIY Mini Battery Powered 4 Wheel Drive Car
DIY Mini Battery Powered 4 Wheel Drive Car Don't just buy your kids remote controlled cars, help them build one. This kit will develop skills like assembling the parts, wireless …
As low as
₹393.19
₹393.19
MRP. ₹838.60
Incl. GST (No Hidden Charges)
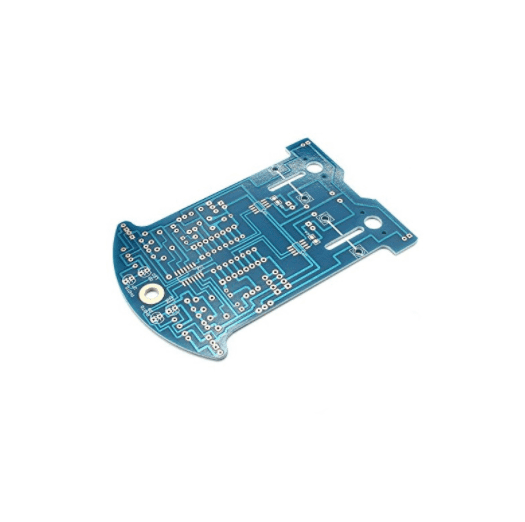
DIY Mini Cat Tracking Robot
DIY Mini Cat Tracking Robot
Build your DIY Mini Cat Tracking Robot. This mini Cat face-shaped robot setup comes with a line follower map as all required Assembly guide to build the robot. This robot runs on a 3V DC supply which can be taken from two AA batteries. The user manual inside the box will guide you through all stepwise procedures as well as all essential parameters to assemble the bot, all you need is basic soldering knowledge and soldering and fitting tools.
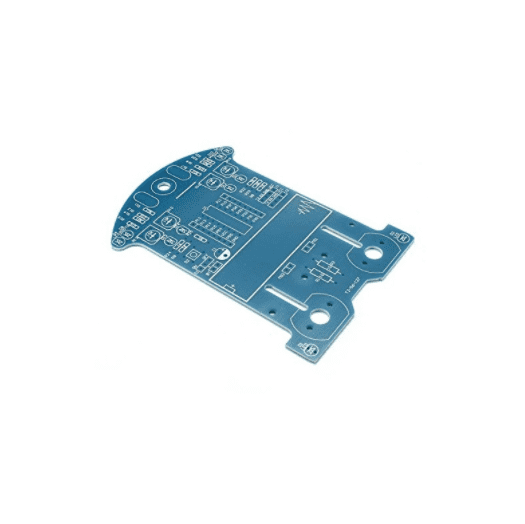
This smart tracking car kit is designed with a fashionable CAT face PCB board. It will help you to understand the basic principles and technical components of automatic control. It is hoped that you can learn basic component knowledge, circuit knowledge, and soldering skill by using this robot.
Also check out our
robotics kit
collection, which features a variety of DIY robotic kits available for purchase.
Note:
The kit doesn't come with a battery
₹571.99
MRP. ₹1208.20
Incl. GST (No Hidden Charges)
Incl. GST (No Hidden Charges)


DIY Mini Cat Tracking Robot
DIY Mini Cat Tracking Robot Build your DIY Mini Cat Tracking Robot. This mini Cat face-shaped robot setup comes with a line follower map as all required Assembly guide to …
As low as
₹571.99
₹571.99
MRP. ₹1208.20
Incl. GST (No Hidden Charges)
